Automated ticket rules are designed to minimize repetitive clicking and to keep you from typing out the same old messages over and over. In fact, when you implement rules, they do much of the admin work for you, freeing you up to focus on your customers.
In this section:
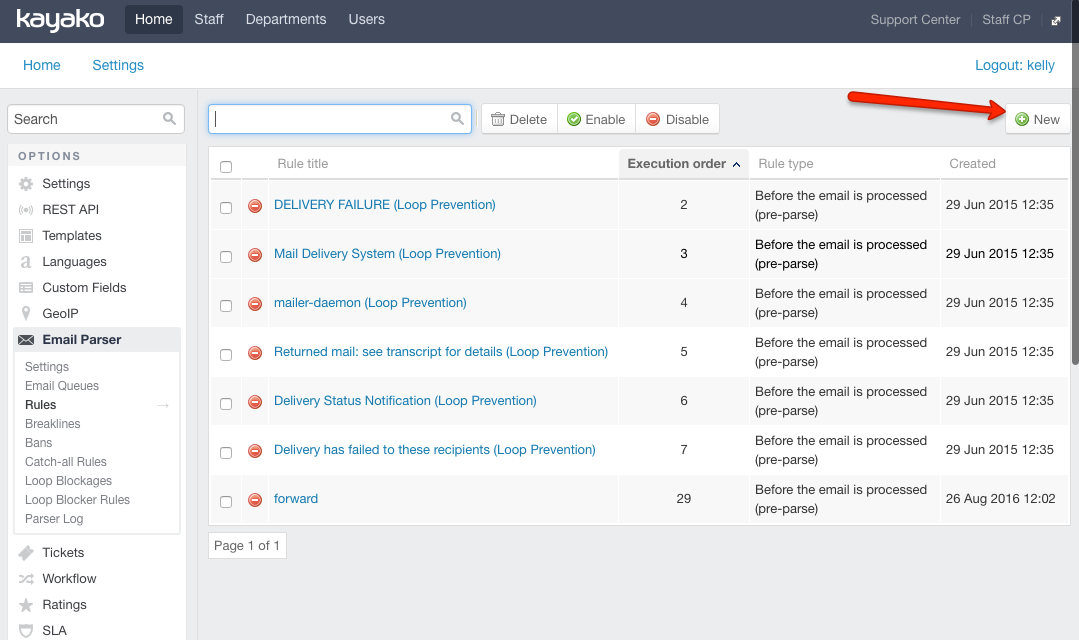
We use email rules (aka mail parser rules) to help a ticket make its way to the right place from the moment it arrives in the e-mail queue.
To create a new email rule, click on Rules under Mail Parser on the Options menu. It looks like this:
Autoresponders
Autoresponders are automated emails sent to customers as a record of each ticket they submit in the support center. We generally suggest including key information, including ticket ID, Subject, Status and a direct link to the ticket, but you can also include Department, Type, and Priority of the ticket.
In addition to that, the two most popular ways to use autoresponders are:
- User Registration emails - to confirm and activate their support center account
- Survey emails - to let customers rate their support experience
- Notifications - staff users get these alerts when specified ticket or user actions occur
- News Subscriptions - to alert customers whenever a new article is added to the helpdesk
- Auto-close - to alert customers that an idle ticket has been closed (this can also be set to simply downgrade a ticket status)
To create an autoresponder template, click on Templates > Manage Templates > Tickets > email_autoresponder
Use macros to reply to tickets
Macros are powerful way to speed up ticket resolution by automating actions that you find yourself making very frequently. Ticket macros are 'predefined replies' taken to a new level. With macros, you can quickly answer commonly asked questions using pre-written responses and pre-select ticket actions and move tickets through more quickly through the support process.
For example, lets say we find ourselves referring tickets frequently to the finance department. Instead of informing the customer that their ticket is being transferred, transferring the ticket and changing the priority of the ticket...let's use a macro.
First, automate the move to finance by creating a macro called Move ticket to finance. This macro will change the ticket department to Finance, set the ticket priority to Medium and add a message in the reply area.
In the staff control panel, go to Tickets and then Macros. Click on the Insert Macro button.
To use a macro, click on the Reply tab of a ticket. Above the ticket properties bar, find the Macro selector.

When you select a macro, two things will happen:
- The ticket reply area fills up the content you specified when creating the macro
- The ticket properties bar is pre-selected with any ticket properties you specified when creating the macro
None of these things will be saved or sent automatically. All the macro is doing here is filling in and selecting fields, so make sure to hit the Send button to save the ticket's property changes. You can use this process to apply more than one macro (to combine a bunch of prewritten replies, for example).

Canned responses
A canned response is very much like a predefined reply, except we use them in live chats (via Kayako Desktop) instead of email.
This comes in handy, because text messages, images, URLs or code, can all be used as canned responses.

To create a canned response, first add a category or two by clicking Insert Category under the categories tab. Then go ahead and click Insert Response under the same tab.
Visitor rules
Visitor rules are designed to automate the ID, group and mine information from visitors to your website. Armed with this information, you can automatically offer a chat with visitors, who have browsed certain pages or have spent significant time on your site. Rules take the repetitive work out of your hands, while still helping you help your most promising leads while you're fresh in their minds.
These are the two major ways you can target a visitor with visitor rules:
- When a visitor first enters your website — rules are checked once when the visitor opens up the site.
- Each page a visitor opens - rules are checked on every page load during a visitor’s session.
To set up a visitor rule, find its section under the live support tab in the admin control panel.
Here's a list of the criteria available for building visitor rules:

Use those criteria to set up the following actions:


Auto-close a ticket
We can automatically close unresolved tickets that haven't been touched or updated a specified period of time.

From this page, you can create, delete, enable or disable auto close rules.
Bonus: Mail parser rules
Helpdesk parser rules can also determine department changes, which tickets are marked as spam, ticket priority, ticket status and so on. For this reason, this is a powerful automation tool. Learn more about mail parser rules here.
Varun Shoor