Staying on top of every ticket in your queue is a difficult task. With follow-ups, you can offload some of that pressure by scheduling ticket replies or updates at any time you specify.
Let's say, for example, a ticket needs a response from your engineering team. You can reply to the ticket saying you'll check and get back to them, and then create a follow-up to automatically re-open the ticket in a few days' time. Or say you've resolved a ticket, but you want to make sure your user is getting on alright. You could set a follow-up to automatically email your customer a week after closing their ticket, to make sure everything's going smoothly.
In this article, we'll walk you through the different options available for follow-ups, and then go step-by-step through creating your own.
Understanding what you can do with ticket follow-ups
You can set a follow-up from any support ticket's 'Follow-up' tab:
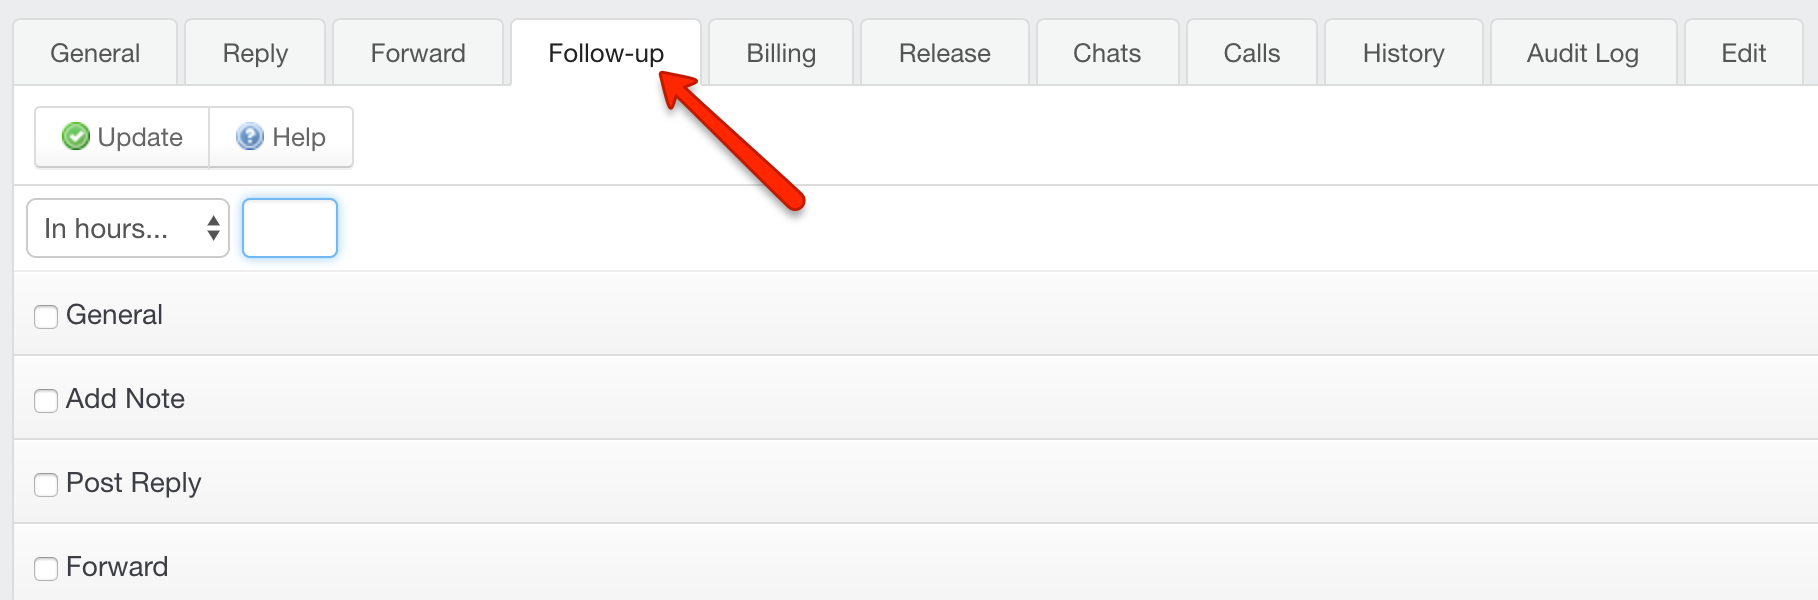
You'll start with choosing a time for the follow up, either by setting it to fire in a certain number of minutes, hours, days, etc. or simply by selecting a specific date and time.
Once you've set a time for the follow-up, you have your pick of actions that Kayako Classic can perform:
- Under the 'General' section, you can make changes the ticket department, owner, type, status, or priority.
-
From 'Add Note' you can tell the follow-up to add a note to the ticket, user, or organization.
-
The 'Post Reply' section will let you save a ticket reply that will be sent to the user when the follow-up's target time is reached.
-
Finally, the 'Forward' section gives you the option to forward the ticket to any email you specify, optionally accompanied by a message.
You can create a follow-up with any combination of these actions, and Kayako Classic will perform them when the ticket's time comes due.
Creating a ticket follow-up
You'll create follow-ups from the individual tickets you want them to act on. You can do a lot with follow-ups, but we'll walk through a specific example here. We'll create a follow-up that, after 2 days, will reopen the ticket, set it to high priority, and add a note reminding us where we left things.
NOTE: To set ticket follow-ups in Kayako, you will need a staff account with the 'Ticket follow-ups' permission.
To set a follow-up on a ticket:
- Sign into the staff control panel.
- Open the ticket you want to follow up on.
- Click the Follow-up tab.
- Here, our first step is to set the timeframe. Select 'In days' and enter '2'.
- Check the General box.
- Set Status to 'Open' and Priority to 'High'.
NOTE: Remember, you can set these options however you like, we're just going through one example of how you might use follow-ups. - Check the Add Note box.
- Add an explanatory note to remind yourself of what attention the ticket needs from you. Something like, 'User is waiting on response from engineering team' for example.
- When you're happy with your follow-up, click the Update button on the top toolbar to save it.
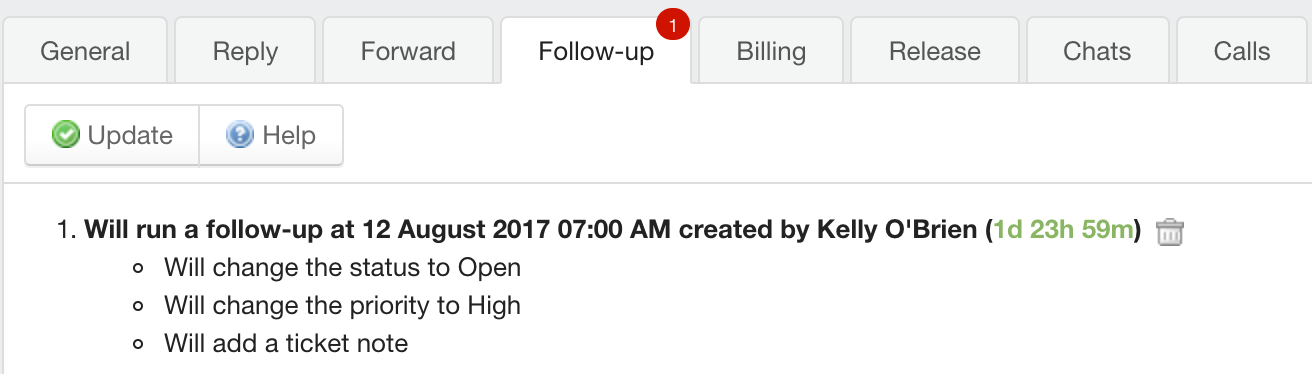
- You'll be able to see, at a glance, whether you've set any follow-ups on a ticket, as well as what they'll do, and when:
NOTE FOR DOWNLOAD CUSTOMERS: If you are using the self-hosted version of Kayako Classic, you'll need to set up an external cron on the server for Follow ups. For help, have a look at our user guide article on setting up a server cron or scheduled task.
Gurpreet Singh