Scheduling regular tasks for your staff is an integral part of building up your organization's day-to-day operations. With Kayako Classic, you can automate and streamline this process by setting up recurring tickets.
For each recurrence, you'll be able to configure the ticket's content and properties, how often it recurs, and a beginning and end date. Once created, Kayako Classic will automatically create and assign a new support ticket using the content you provide, at the time you've chosen.
In this article, we'll explain how recurring tickets work, and then walk you through the steps to create your first recurring ticket.
Understanding how recurrence works in Kayako Classic
You can use recurring tickets to automatically create a series of identical tickets at whatever time interval you choose. For an example, let's say your team is required to submit performance reports to a particular customer every couple of weeks. You can create and assign a recurring ticket to a staff member, prompting them to run and send that report every other Monday.
Creating a recurring ticket starts just like creating any ticket, with the additional step of scheduling the ticket creation to happen at regular intervals. You'll have the option to choose from the following:
- Daily – repeat the ticket every specified number of days, or every weekday
- Weekly – repeat the ticket every week (or other week, or three weeks, etc.) on the days of the week you choose
- Monthly – repeat the ticket on a particular day of the month (for example '22nd' or 'first Tuesday')
- Yearly – repeat the ticket annually on a particular day of the year
The rest of the ticket-creation process is identical to creating a normal, one-off support ticket. You define the ticket's properties and content just as you would otherwise. But the options you choose on the 'Recurrence' tab will tell Kayako Classic when and how often to create an identical ticket.
Now that we've covered what recurring tickets can do, let's go through the process of actually creating one.
Setting up recurring tickets
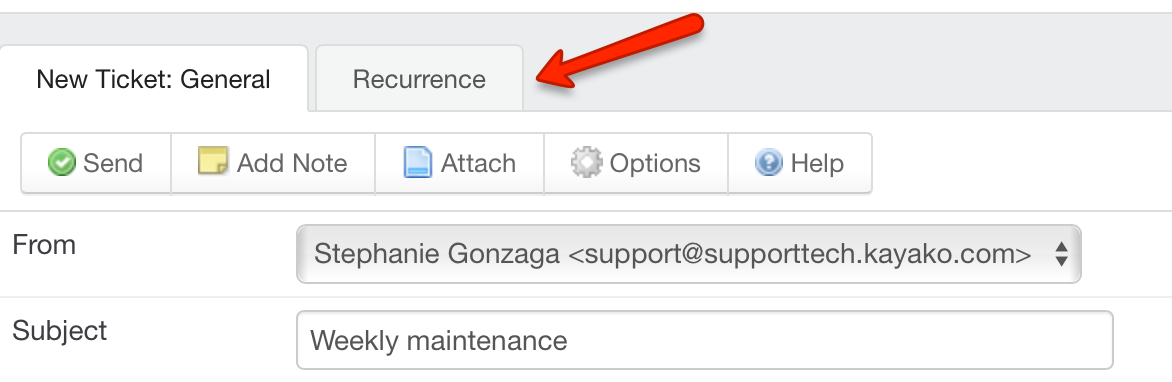
Each recurrence will start by creating a new ticket, and then setting the configuration options on the 'Recurrence' tab.
Note: To create recurring tickets in Kayako Classic, you will need a staff account with the 'Recurrence' permission.
- Sign into the staff control panel.
- Click Tickets in the main menu and select New Ticket.
- Select the 'Send an email' option.
NOTE: This option will set you as the creator, so no autoresponder will be sent to a user. - Select the Department for the ticket to belong to.
- Click the Next button to start editing the ticket contents.
- Add an email address to the To field for any staff member who should get an email when this ticket is created.
- Fill in the ticket properties and content as you would with any other ticket.
- Switch to the 'Recurrence' tab to set the scheduling options for the ticket.
- Choose how often you'd like the ticket to recur.
NOTE: When you make a selection, it will open additional configuration options. - Set a beginning and end day for the recurrence.
- Click the Send button to create your first ticket, and schedule future recurrences.
NOTE: When you hit Send, a new ticket will be created, whether it follows the recurrence pattern or not.
You can schedule as many recurrences as you need to keep your workflows running smoothly. Once created, recurring tickets will behave just like ordinary tickets.
Stephanie Gonzaga