Keep your staff up-to-date on their support tickets – even when they're away from the queue – with notifications. Kayako Classic makes it easy to proactively notify staff members, teams, or even customers about changes to their support tickets, via email.
For each notification, you'll tell Kayako Classic which tickets it should apply too, what specific change or event should trigger it, and who to email when all those conditions are met.
In this article, we'll have a look at how notifications work in Kayako Classic, and walk you through how to create and edit your own.
Understanding Kayako Classic notifications
Whenever a ticket is updated or a new user registers, Kayako Classic will check it against any notifications you've created. If the ticket and update type matches the criteria for a notification, Kayako Classic will send an email to any staff, teams, or users you've selected.
There are two types of notifications you can create:
- Ticket – This is where most of the power of notifications live. You'll use this option to set up notifications about ticket updates, like changes to a ticket's priority, department, status, owner, etc.
- User – You also have the option to notify staff members when a new customer user registers on your support center.
You'll select criteria to tell Kayako Classic when to send the notification, then you'll have lots of options for choose who receives the notification itself:

The first group of options are only available for ticket notifications, since their value depends on the specific ticket:
- Own staff user account – emails the owner of the ticket
- Team – emails the entire team or teams that the ticket owner belongs to
- Department – emails any staff members assigned to the department the ticket is in
- User – emails the customer who opened the ticket
The rest of your options are available for either ticket or user notifications, and allow you to specify either specific staff members, or any other email address.
As you might imagine, there are a lot of different uses for notifications – let's have a look at a couple of quick examples.
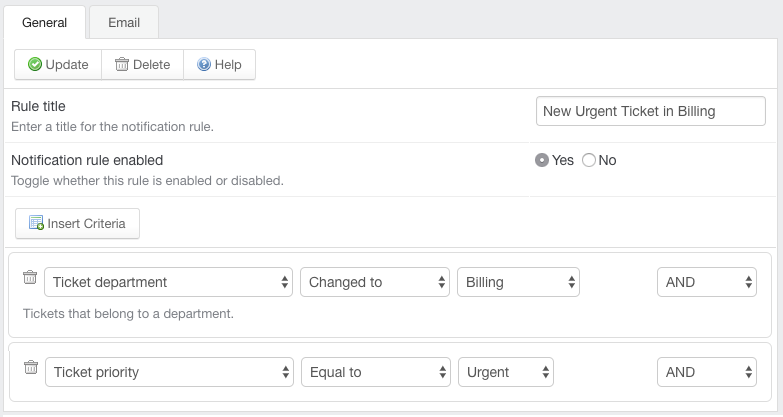
For ticket notifications, you might use one to keep your staff informed whenever a ticket of a particular priority is assigned to a specific department. For example, let's say you want to send an email to the head of your billing team whenever a new urgent ticket is assigned to the 'Billing' department. You could create a new notification that looks like this:
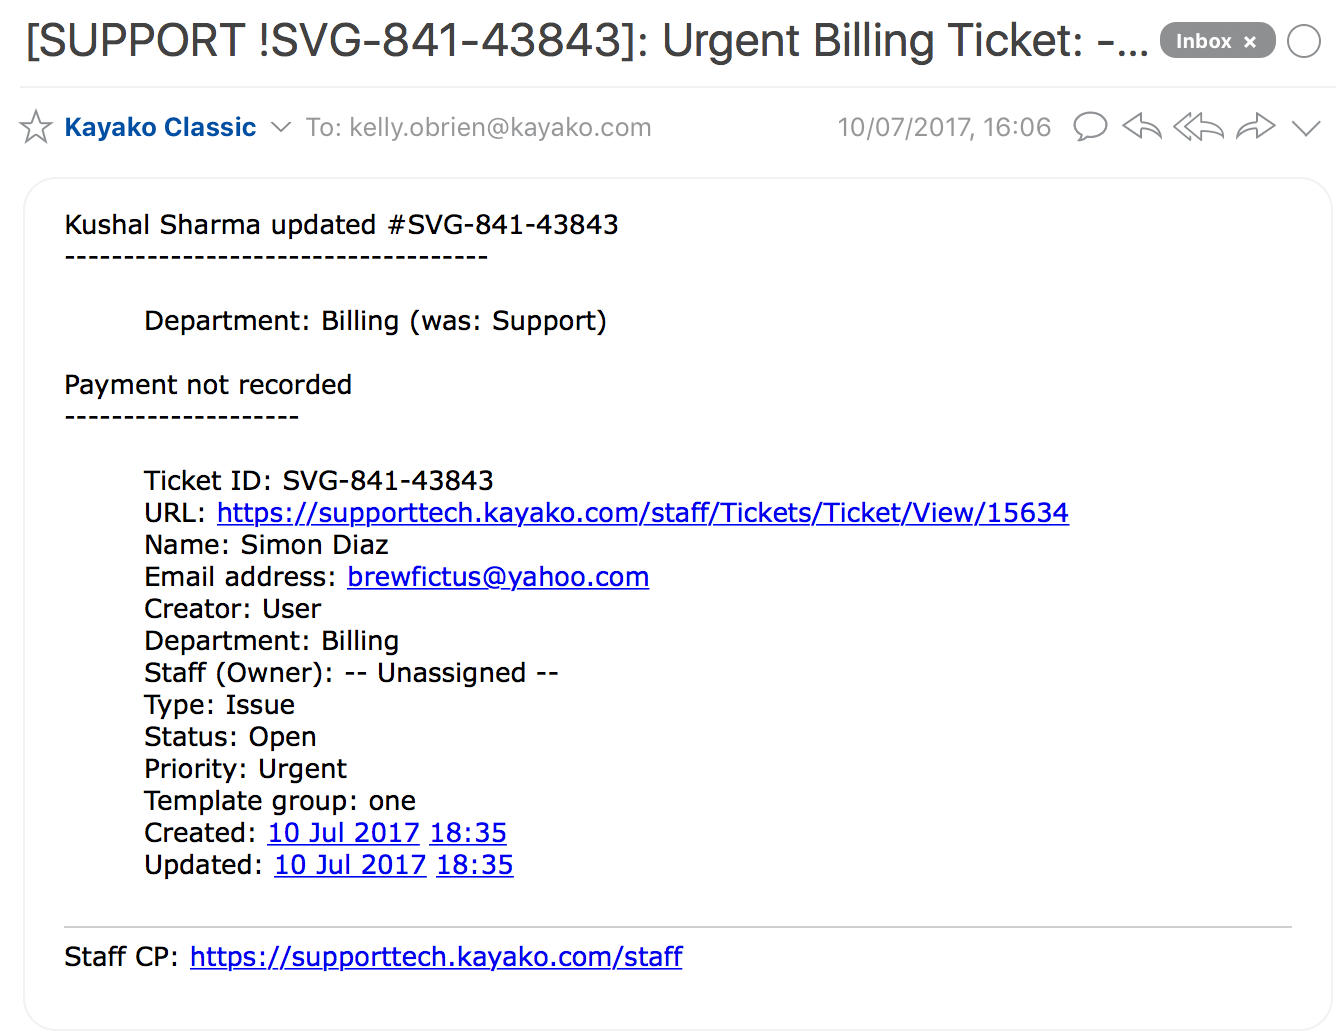
With this notification enabled, and your billing lead's email selected as a recipient, Kayako Classic would send the following email whenever an urgent ticket is moved to the 'Billing' department:
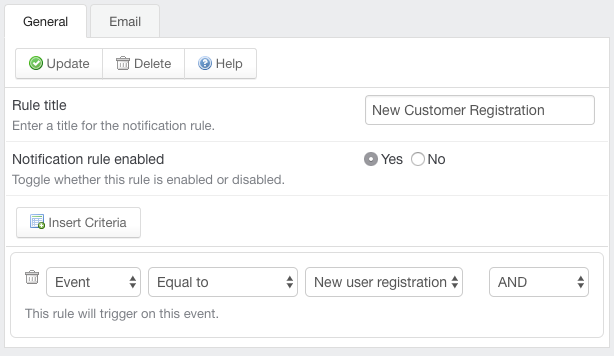
User notifications work very similarly. If you wanted to notify your support lead whenever a new user registers on your support center, you could do that with user ticket configured like this:
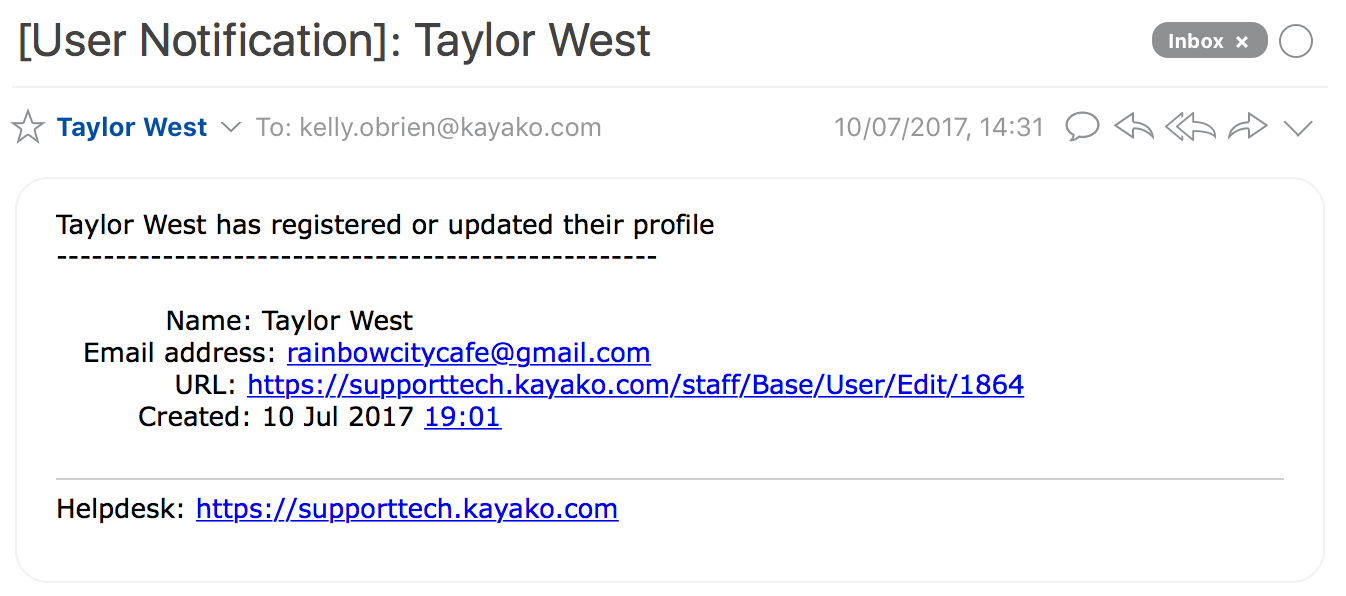
With this notification enabled, Kayako Classic will send the following email to any address you specify, whenever a new user registers on your support center:
So, now that we've covered the sorts of things you can accomplish with notifications, let's look at the steps to actually creating one.
Adding a new notification
Most staff members will have access to notifications and can set them up for themselves or for their team(s) at large.
NOTE: To create and edit notifications, you'll need a staff account with the 'Notification rules' permission.
- Sign into the staff control panel.
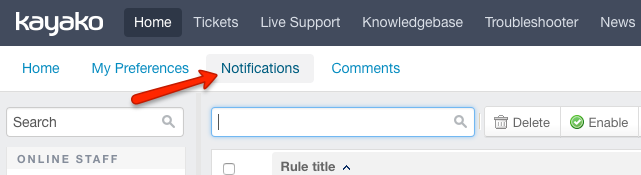
- From the 'Home' menu on the top toolbar, click Notifications.
- Here you'll see a list of any notifications that you've already created.
NOTE: You can tell whether a notification is enabled or not based on whether the lightbulb icon is yellow (enabled) or grey (disabled). - Click the New button in the upper-right.
- For notification Type, select either 'Ticket' or 'User'. Let's go with 'Ticket' for this example.
NOTE: Ticket notifications are the more powerful, and commonly used of the two. - Click the Next button.
- In the Rule title box, enter a descriptive title for your notification, like 'Urgent Ticket Moved to Billing'.
- Leave Notification rule enabled set to 'Yes'.
- Next, let's add our criteria. If we want to send a notification about 'Urgent' tickets when they're moved to the 'Billing' department, we'll need two criteria.
- In the first row, select, 'Ticket department, changed to, Billing'.
- Click the Insert Criteria button to add your second criteria.
- In the second row, select, 'Ticket priority, equal to, Urgent'.
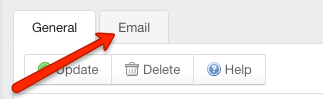
- Next, you'll select your recipients. Switch to the 'Email' tab.
- In the Email subject prefix box add a message, like 'Urgent Billing Ticket:', that Kayako Classic will append to the subject for your notification email.
- Then, from the 'Email' section, select as many recipients for this notification as you like.
- When you're done, click Update to save your new notification.
Kelly O'Brien