Even for teams with relatively low ticket volume, keeping your helpdesk organized can be a daunting task. One of the ways Kayako Classic can lessens that burden is with tags.
Using keywords to tag related content means you can quickly filter your views to quickly find the information you need. Use tags to filter your tickets and live chats by topic, group users or organizations by industry, or set up any other kind of categorization that your team might need. Once you create a tag, Kayako Classic will display it in a tag cloud in the sidebar, so you can filter your lists with a single click.
In this article, we'll explain how tags work in Kayako Classic, where you can use them, and how to start tagging things.
Understanding how tags work
Tags are a quick and powerful way to keep your helpdesk organized and easy-to-navigate. By tagging content with descriptive keywords or phrases, you can make it much easier for your team to find the information they're looking for – fast.
You can use tags on the following types of Kayako Classic content:
- Support tickets
- Live chat conversations
- Offline messages and surveys
- User accounts
- Organization profiles
For each type of content, you'll see a field that looks like this:

You can type any keyword you want to use. The field will search any tags you've already used, so it's easy to stick to a defined set of tags.
You can also use phrases, but they'll need to be joined together with hyphens or underscores:

Once you've created a tag on a piece of content, the tag will appear in the sidebar of the staff control panel, whenever you're viewing that type of content.
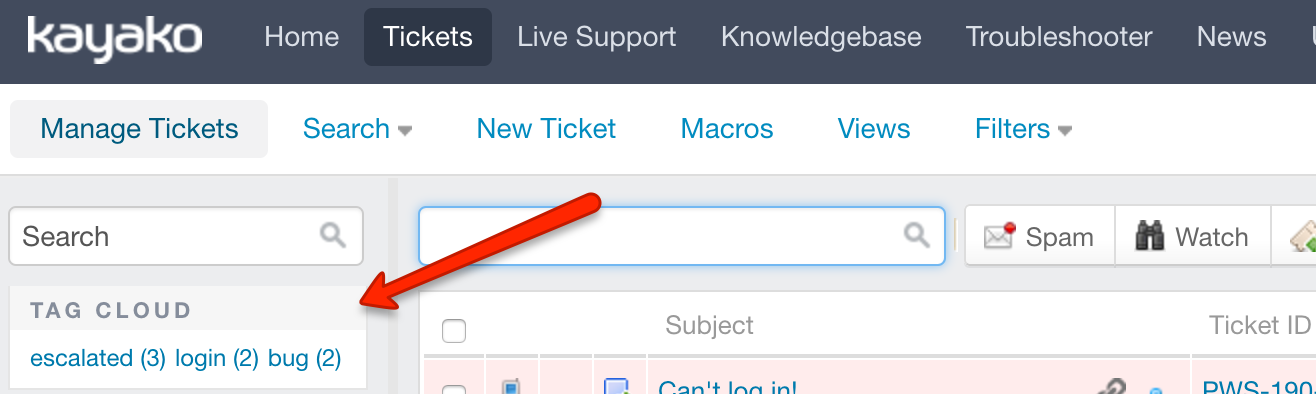
Clicking on a tag will immediately filter the queue – or list of whatever content you're viewing – and only display items with that tag.
NOTE: You can also manually search using tags by typing 'tag:' followed by the keyword.
Now that we've covered the basics, let's walk through how to start tagging your content.
Tagging support tickets
Tagging tickets is probably the most common use of the feature. It can make navigating your support queue super-fast.
NOTE: To tag content in Kayako Classic, you will need a staff account with the 'Tags' permission.
To tag a support ticket:
- Sign into the staff control panel.
- Click Inbox in the sidebar.
- Click on the ticket ID to open the ticket you would like to tag.
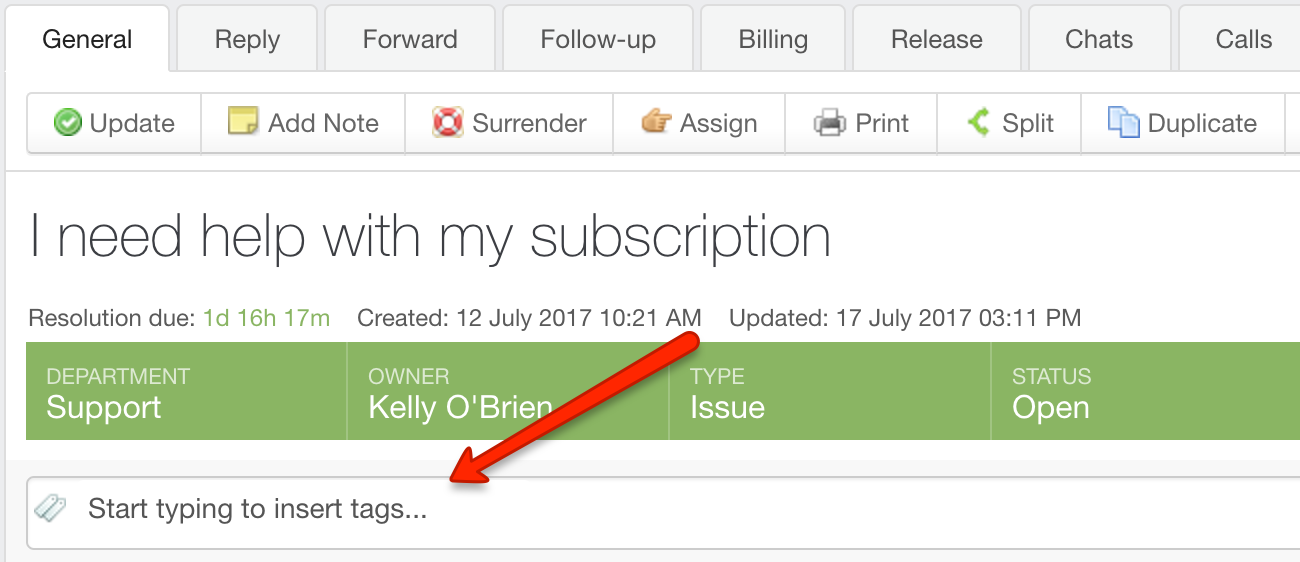
- Under the ticket properties is the Tags field.
- Enter the keyword or phrase you'd like to tag the ticket with.
NOTE: Hitting the space bar or return key will create the tag and let you add another. - Click Update to add the tags to the ticket.
The keyword or phrase you used will now display in the tag cloud in the sidebar. You can always remove a tag by editing the ticket and clicking the red x next to the tag(s) you want to remove.
NOTE: You can add tags to or remove tags from multiple tickets at once, by checking the box next to the tickets, and editing the tags in the 'Mass Action' section.
Tagging Live Chat conversations, offline messages, and surveys
You can use tags to organize both full Live Chat conversations or offline messages and surveys. The steps are almost identical, so we'll cover them both here.
NOTE: To tag content in Kayako Classic, you will need a staff account with the 'Tags' permission.
To tag Live Chat content:
- Sign into the staff control panel.
- Click Live Support in the main menu.
- To tag a conversation, click Chat History, and to tag a post click Message/Survey.
- Click on the chat/message ID to open it for editing.
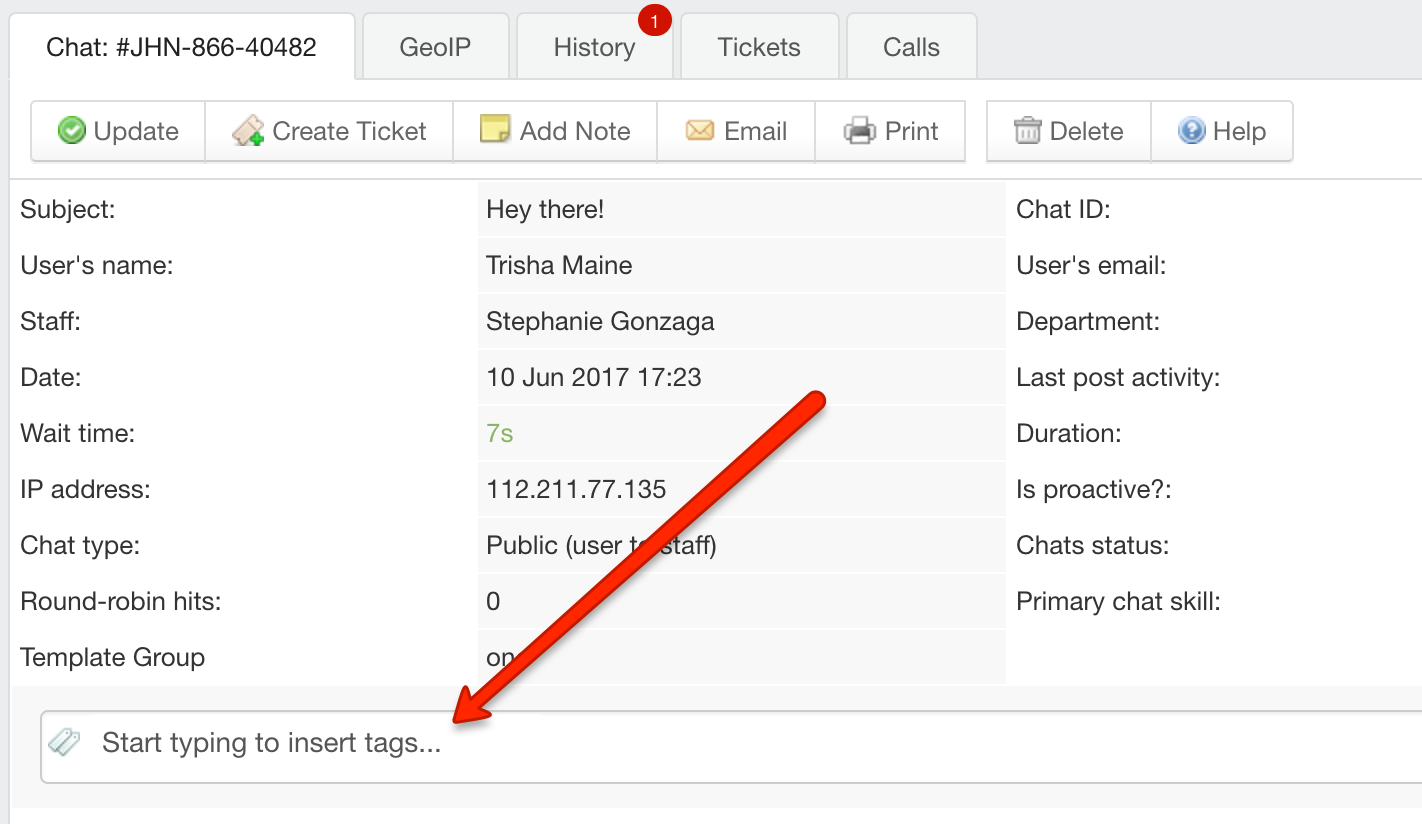
- Below the properties section is the the Tags field.
- Enter the keyword or phrase you'd like to use.
NOTE: Hitting the space bar or return key will create the tag and let you add another. - Click Update to add the tags.
The keyword or phrase you used will now display in the tag cloud in the sidebar. You can always remove a tag by editing the chat or message and clicking the red x next to the tag(s) you want to remove.
Tagging users and organizations
You can categorize both users and organizations using tags. The steps are almost identical, so we'll cover them both here.
To tag a user or organization:
- Sign into the staff control panel.
- Click Users in the main menu.
- To tag a user conversation, click Manage Users, and to tag an organization click Manage Organizations.
- Click on the user or organization to open it for editing.
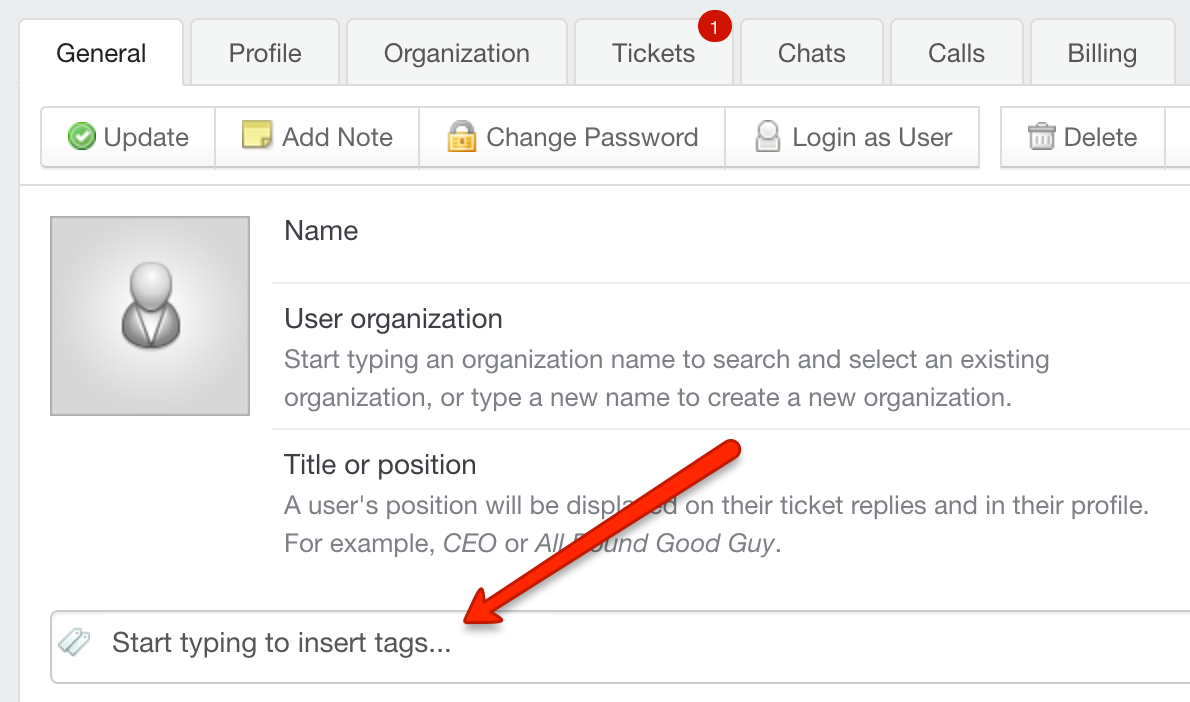
- Below the user or organization details is the Tags field.
- Enter the keyword or phrase you'd like to use.
NOTE: Hitting the space bar or return key will create the tag and let you add another. - Click Update to add the tags to the user or organization.
The keyword or phrase you used will now display in the tag cloud in the sidebar. You can always remove a tag by editing the user or organization and clicking the red x next to the tag(s) you want to remove.
Stephanie Gonzaga